Tutorial:
Create document 640×480 pixels.
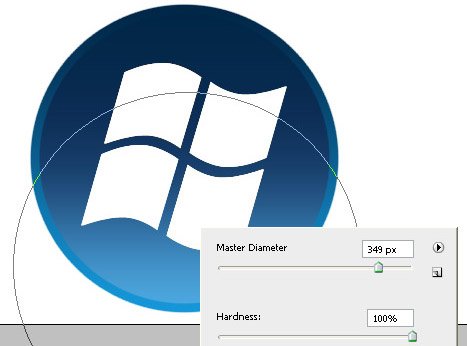
Fill it with white color. Create a new layer name it “circle1″. Select Brush Tool (B). Make a circle similar to mine:
Master Diametar: 300px
Hardness: 100%
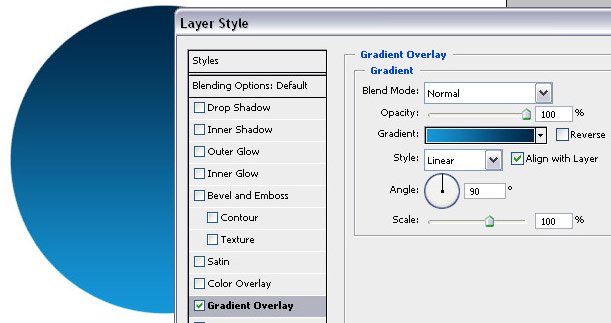
Fill the selection with gradient.
Top:# 022646
Bottom: #1597d5
Duplicate layer (CTRL+J) and name it “circle2”
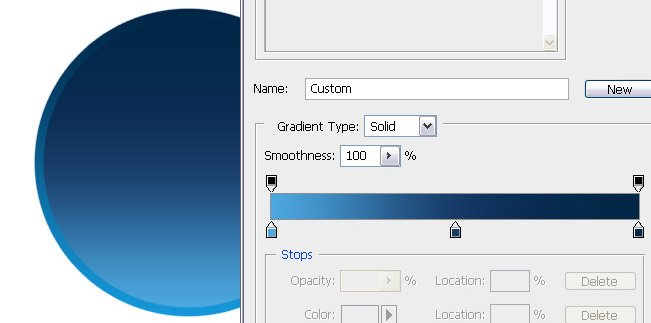
Decrease the layer to 94% and fill with gradient:
Top:# 02244a
Center:#183b61
Bottom:# 49a5e4
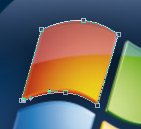
Use Pen Tool (P) to create square shape (with radius).
Create a new layer name it “window1”.
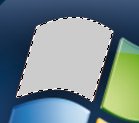
Right click, click on the shape, click “Make Selection…”
Fill the selection with any color.
Now duplicate layer and name it “window2”.
Use CTRL+T to flip the window2 layer vertical, and then horizontal.
Now you should repeat the same thing two more times to get four windows in total.
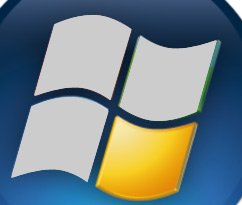
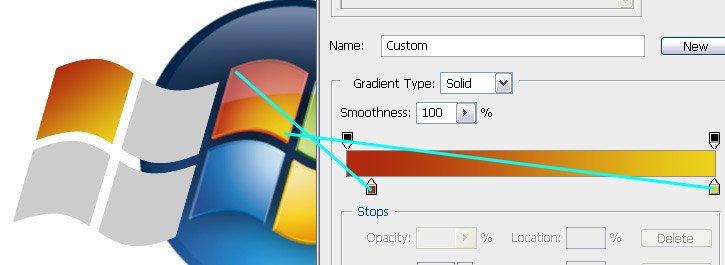
Fill the windows using gradient with equal colors from the original logo.
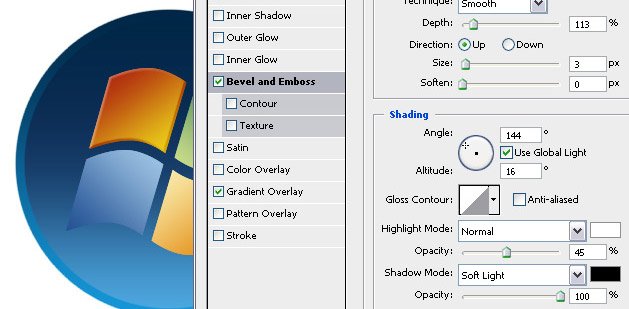
Add Bevel and Emboss to all windows.
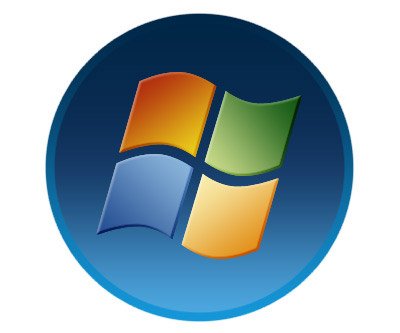
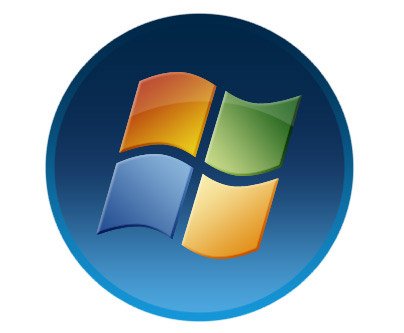
Now you should have something like this.
We need some glossy effect on this window.
Create a new folder “window”, put all four window shapes into one folder.
Duplicate “window” folder and press CTRL+E to merge folder. Name it “Gloss”.
Lock Transparent pixels
And fill the “gloss” layer with white color.
Create a copy of this layer, name it “shadow” and put under the “window” folder (we need this one for later).
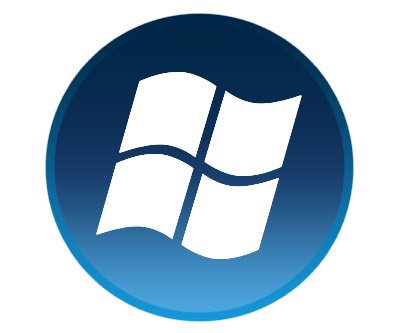
Unlock Transparent pixels, and use eraser tool to remove unnecessary part.
Set opacity 15%
Create a new layer “shine”.
How hold down CTRL and left mouse click to the “shadow” (do not select this layer) layer at the layer palette.
We have got selection like this one:
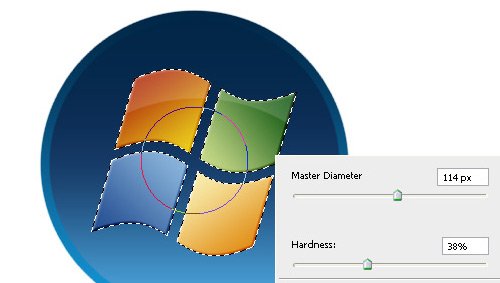
One click with Brush Tool to create shine similar to mine.
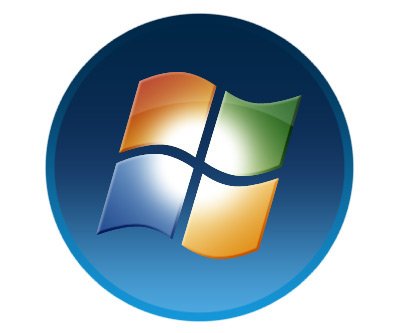
Set ~30% transparency.
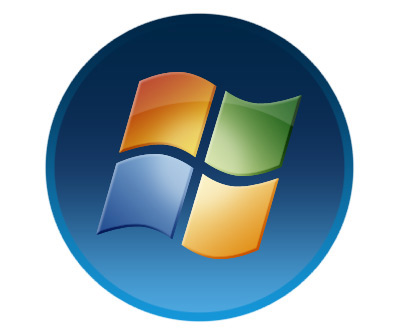
OK, we need the backgroung more glossy.
Create a new layer “sbottom”
Hold down CTRL and click to the “circle2” layer.
Use Brush Tool # 3fb9ea and create a light blue shade at the bottom.
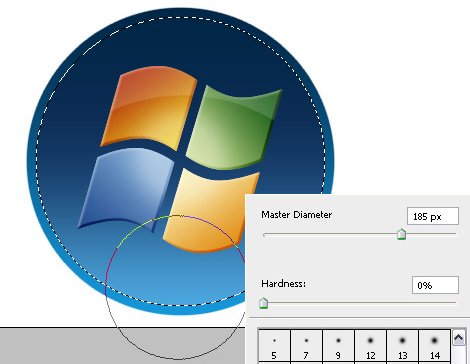
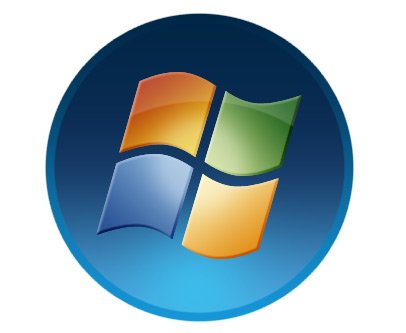
Repeat this action with the top part of your logo.
#6f87a3 color
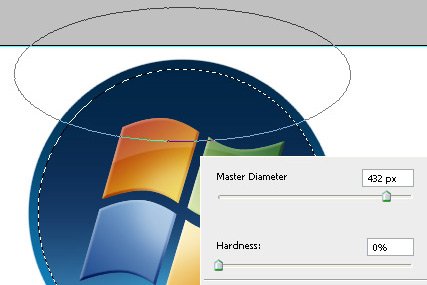
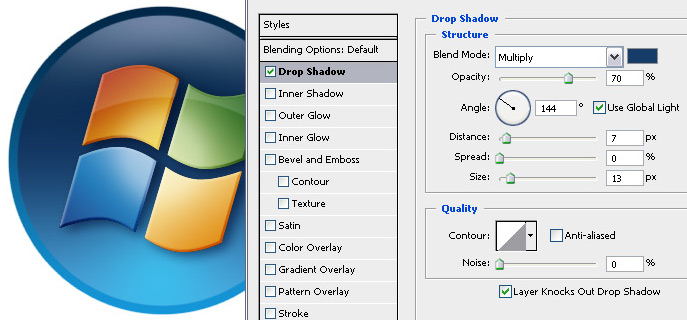
It’s time to add some shadows to the window icon. Merge the window folder (CTRL+E),
And add a shadow.
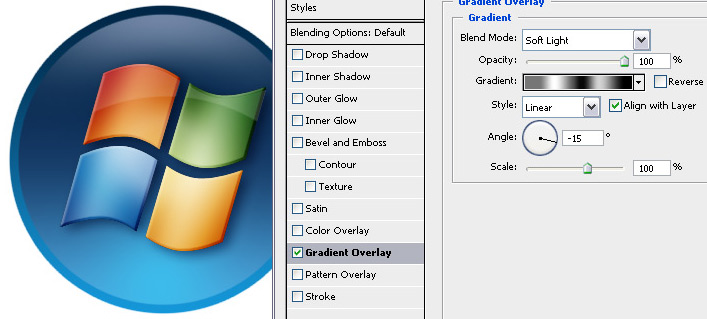
We are almost done. To make the windows icon more wavy apply this Gradient Overlay:
That’s it!
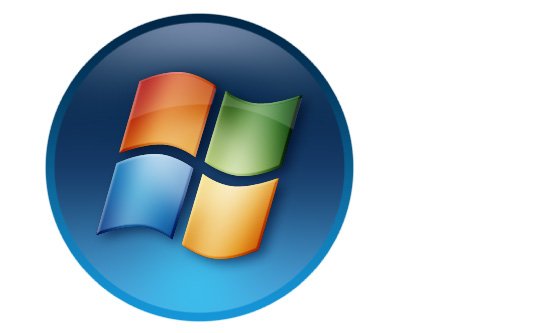
At the end you can add a reflection. Turn off the background (white locked layer at the bottom), merge all layers (CTRL+SHIFT+E). Create a copy of that layer (CTRL+J), then CTRL+T / Flip Vertical. Move down the layer and use Eraser Tool to delete bottom part. Set transparency to 20% or less.
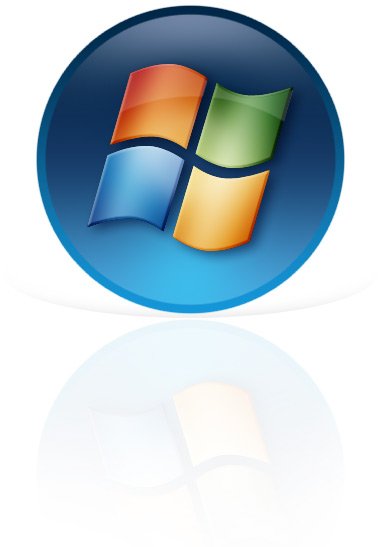
Congratulations, Your are done!
Cheers!
Tidak ada komentar:
Posting Komentar